Roasting butternut squash feels like a small act of culinary rebellion. It transforms that dull, starchy vegetable into something deeply sweet and tender, with edges that crackle and char just enough. It’s a simple process, but the magic lies in the patience and the slow caramelization.
Why I keep coming back to roasted butternut squash
It’s forgiving, adaptable, and always satisfying. The smell of caramelized sugar and roasted squash is nostalgic, reminding me of fall kitchens. Plus, it’s quick to toss together, makes the house smell amazing, and pairs well with almost anything—meat, grains, greens.
Breaking down the ingredients
- Butternut squash: Sweet, dense, and creamy when roasted. Look for firm, unblemished skin.
- Olive oil: Gives a nice sheen and helps caramelize. Use good quality or even a splash of browned butter.
- Salt and pepper: Basic seasoning, essential for bringing out natural sweetness.
- Smoked paprika: Adds a smoky depth, but you can swap with cumin or omit for a milder flavor.
- Honey or lemon: For finishing touches—caramel and brightness that elevate the dish.
Tools and equipment for roasting squash
- Vegetable peeler: To peel the tough skin cleanly.
- Sharp paring or chef’s knife: To halve and cut the squash evenly.
- Large baking sheet: Provide enough space for even roasting.
- Parchment paper: Prevent sticking and easy cleanup.
- Silicone spatula: To toss and turn the squash during roasting.
Step-by-step guide to roasting squash from raw to caramelized perfection
Step 1: Preheat your oven to 200°C (390°F).
Step 2: Peel the squash with a sharp vegetable peeler, then halve and scoop out seeds.
Step 3: Cut the squash into uniform 2-inch cubes for even roasting.
Step 4: Toss the cubes in olive oil, salt, pepper, and a pinch of smoked paprika.
Step 5: Spread the squash on a baking sheet lined with parchment, skin-side down.
Step 6: Roast for about 25-30 minutes, until edges are caramelized and flesh is tender.
Step 7: Check for doneness by piercing with a fork; it should slide in easily.
Step 8: Let the squash rest for 5 minutes out of the oven before serving.
Step 9: Finish with a drizzle of honey or a squeeze of lemon for bright contrast.
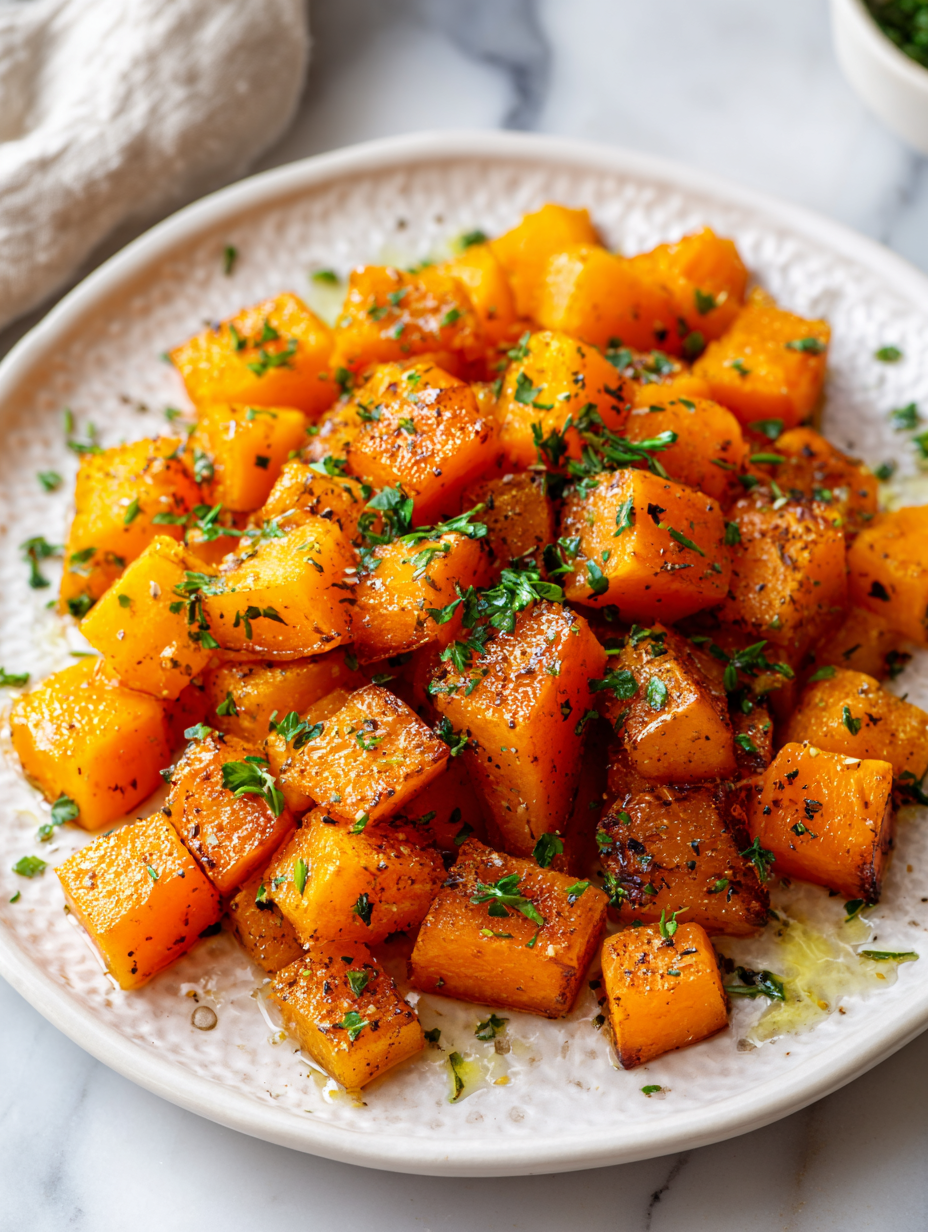
Roasted Butternut Squash
Ingredients
Equipment
Method
- Preheat your oven to 200°C (390°F).
- Use a vegetable peeler to carefully peel the tough skin off the butternut squash until smooth.
- Halve the squash lengthwise, then scoop out the seeds with a spoon.
- Cut the squash into uniform 2-inch cubes to ensure even roasting.
- Transfer the cubes to a mixing bowl and toss with olive oil, salt, pepper, and smoked paprika until evenly coated.
- Line a large baking sheet with parchment paper and spread the squash cubes in a single layer, skin-side down for even caramelization.
- Roast in the oven for about 25-30 minutes, until the edges are golden and caramelized, and the flesh is tender when pierced with a fork.
- Remove from the oven and let the squash rest for 5 minutes to cool slightly and settle.
- Transfer the roasted squash to a serving dish and drizzle with honey or squeeze fresh lemon juice for a bright, caramelized finish.
- Serve warm as a flavorful side or a hearty addition to grain bowls and salads.
Cooking checkpoints to ensure perfect roasted squash
- Squash is golden-brown and slightly caramelized at the edges.
- Flesh is tender when poked with a fork, not mushy.
- The aroma should be sweet and smoky, hinting at caramelized sugars.
- Squash pieces are uniformly cooked, no raw patches or burning edges.
Common mistakes and how to fix them
- Squash slips and jagged edges.? Use a sharp knife to avoid uneven cuts.
- Clumpy, dry pieces on the tray.? Toss with enough oil to prevent sticking.
- Over-torched edges and burnt bits.? Remove early if edges burn.
- Squash under or over-cooked.? Check oven temperature.
Roasted butternut squash isn’t just a bland veggie side. It’s a canvas for flavors—sweet, smoky, and a little earthy all at once. Once you get the hang of aiming for that caramelized edge, it becomes a dish you’ll crave in all seasons. Don’t be afraid to experiment with spices or sharp herbs—each tweak makes it uniquely yours.
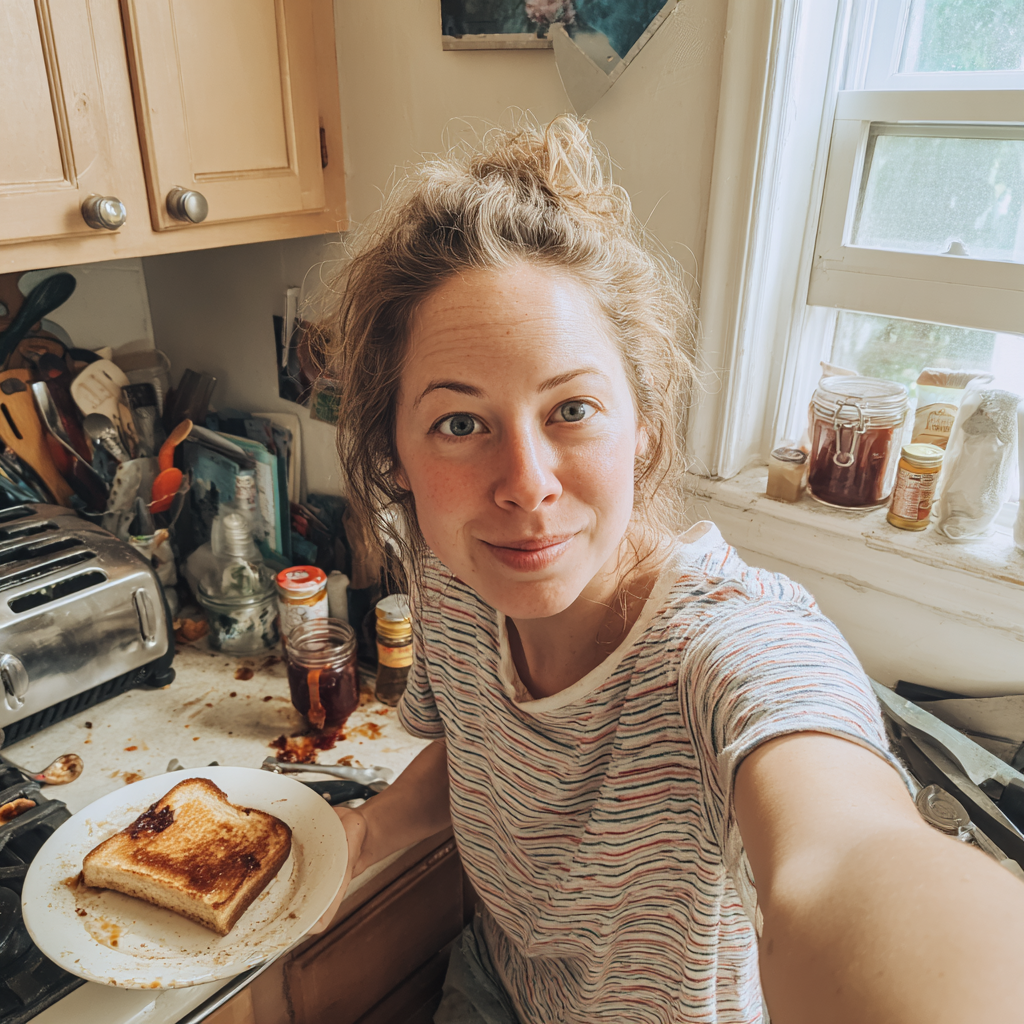
Hi, I’m Lily Ashworth – and if you’ve ever cried over a burnt grilled cheese or served cereal for dinner after a kitchen disaster, you’re in the right place. The phrase “say a little prayer for the burnt toast” became a family joke – something we’d mutter while scraping crumbs into the sink and laughing at yet another kitchen misadventure.