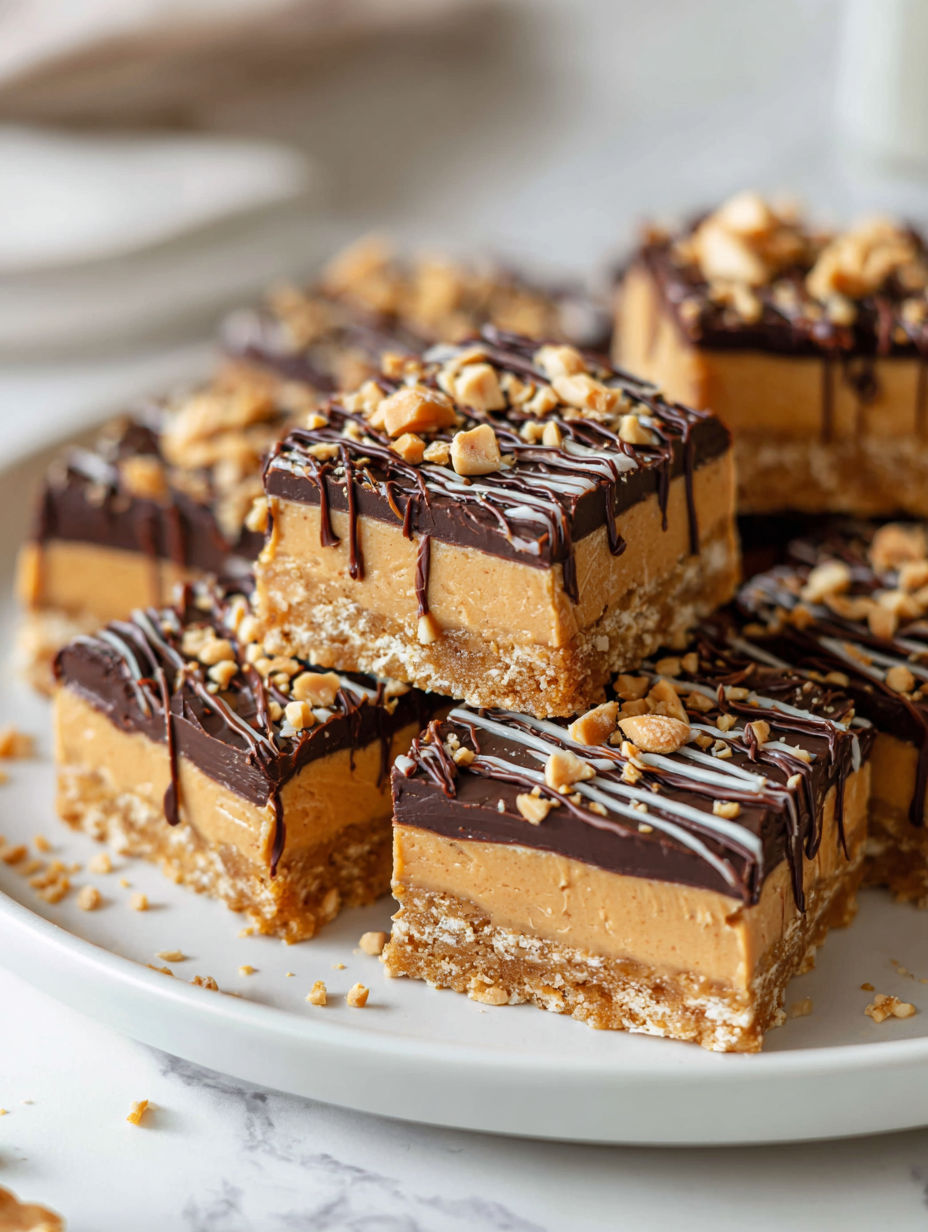
These no-bake peanut butter bars are my go-to when I need a quick fix of comfort. They’re the kind of treat that takes me back to childhood afternoons, sticky fingers and all. No oven, no fuss—just a simple handful of ingredients coming together in under half an hour.
What I love most is how honest they taste—rich peanut butter, a touch of honey, and that satisfying crunch from graham cracker crumbs. They’re perfect for those mornings when everything feels busy, or late-night cravings that hit before you’ve even finished your last cup of coffee. They’re a small, sticky reminder that sometimes, simple really is best.
Focusing on how these bars serve as a nostalgic comfort food that’s quick to whip up during busy mornings or late-night cravings, emphasizing their simplicity and the way they evoke childhood memories.
Childhood Comfort in Every Bite
- Making these bars reminds me of lazy weekend afternoons at my grandma’s, where the smell of peanut butter filled the air and everything felt simple and warm.
- There’s a rush of pride each time I whip these up quickly, especially when friends ask for the recipe—like I’ve shared a little secret.
- Honestly, these are my rescue snack—crunchy, sweet, and salty all at once—perfect for those hectic days when I need something satisfying, fast.
- They’re a nostalgic escape—bringing back childhood afternoons, sticky fingers, and that unmistakable aroma of peanut butter melting into sweet, buttery bliss.
Childhood Comfort in Every Bite
- Making these peanut butter bars is a little ritual I didn’t realize I needed. One afternoon, I was rummaging through my pantry, craving something sweet but quick, and these came together almost by accident. The simplicity of just mixing, pressing, and chilling felt like reclaiming my time—no oven, no fuss, just pure, honest ingredients melding together.
- They remind me of how I used to help my mom in the kitchen, scooping peanut butter straight from the jar and pressing graham crackers into sticky, nutty layers. Now, whenever I whip up a batch, it’s like a tiny act of nostalgia, a moment to pause amidst chaos and savor a childhood favorite.
- heading: “Childhood Comfort in Every Bite”
Trivia and Historical Tidbits
- These bars trace back to 1970s home kitchens, where quick, no-bake treats became popular among busy families.
- Peanut butter’s popularity surged during World War II, making it a staple ingredient in many simple, hearty desserts like these.
- Graham crackers, used as the base, were originally invented in the 1820s as a health food, but quickly became a baking essential in America.
- No-bake desserts like these gained fame during the rationing years, offering a sweet fix without needing an oven or extra ingredients.
- The combination of peanut butter and honey is a classic in many cultures, symbolizing comfort and quick energy in snack form.
Ingredient breakdown: key components
- Peanut Butter: I love a creamy, natural peanut butter that feels rich and slightly salty—perfect for a luscious, oozy texture. Swap for almond butter if you want a nuttier twist, but expect a subtler flavor.
- Graham Crackers: These offer that iconic crunch and buttery sweetness I crave in every bite. If you’re out, digestives or even crushed vanilla wafers work well, though they might alter the flavor slightly.
- Honey: It’s my secret to that sticky, slightly floral sweetness that makes the bars cling together. Maple syrup can replace it for a deeper, caramel note, but the texture might be a touch softer.
- Butter: Just enough to give the mixture a smooth, melt-in-your-mouth feel. Coconut oil can be a good dairy-free alternative, but watch the scent—it adds a hint of coconut aroma.
- Chocolate (optional topping): I prefer dark chocolate for a bittersweet finish that balances the peanutty richness. Milk chocolate is sweeter and creamier, but either way, melted chocolate adds a glossy, irresistible top layer.
- Salt: A pinch enhances all the flavors and prevents the bars from tasting flat. Sea salt flakes give a nice crunch, but regular table salt works fine if you prefer a subtler saltiness.
Spotlight on key ingredients
Peanut Butter:
- I prefer a creamy, natural peanut butter that feels rich and slightly salty—perfect for a luscious, oozy texture. Swap for almond butter if you want a nuttier twist, but expect a subtler flavor.
- Graham Crackers: These offer that iconic crunch and buttery sweetness I crave in every bite. If you’re out, digestives or even crushed vanilla wafers work well, though they might alter the flavor slightly.
Honey and Butter:
- Honey: It’s my secret to that sticky, slightly floral sweetness that makes the bars cling together. Maple syrup can replace it for a deeper, caramel note, but the texture might be a touch softer.
- Butter: Just enough to give the mixture a smooth, melt-in-your-mouth feel. Coconut oil can be a good dairy-free alternative, but watch the scent—it adds a hint of coconut aroma.
Notes for ingredient swaps
- Dairy-Free: Swap butter for coconut oil—adds a subtle coconut aroma and slightly softer texture.
- Sweetener: Use maple syrup instead of honey for a richer, caramel-like flavor, but expect a softer set.
- Nut Butter: Almond or cashew butter can replace peanut butter, offering different nutty notes and slightly different ooze.
- Graham Crackers: Digestive biscuits or crushed vanilla wafers make good alternatives, though they alter the flavor profile.
- Chocolate Topping: Dark chocolate can be replaced with milk chocolate for a sweeter, creamier finish, or omit for a nutty crunch.
- Salt: Sea salt flakes add a crunch and burst of saltiness; regular table salt works if you prefer a subtler touch.
Equipment & Tools
- Baking dish: Holds the mixture and shapes the bars.
- Mixing bowl: Combines ingredients smoothly.
- Spatula: Spreads and presses the mixture evenly.
- Parchment paper: Prevents sticking and makes removal easy.
- Microwave-safe bowl: Melts the chocolate topping.
Step-by-step guide to no-bake bars
- Gather your equipment: a 20cm (8-inch) square baking dish, a mixing bowl, a spatula, and parchment paper for easy removal.
- Line the baking dish with parchment paper, leaving some overhang for easy lifting later. Set aside.
- In a mixing bowl, combine 1 cup (250g) creamy peanut butter, 1/2 cup (120ml) honey, and 1/4 cup (60g) melted unsalted butter. Mix until smooth and slightly runny, about 2 minutes.
- Crush 2 cups (200g) graham crackers into fine crumbs. You can do this by placing them in a plastic bag and crushing with a rolling pin or pulsing in a food processor for 10 seconds.
- Add the graham cracker crumbs to your peanut butter mixture. Stir thoroughly until the crumbs are evenly coated and the mixture is thick but spreadable.
- Press the mixture firmly into your prepared baking dish. Use the back of a spatula or your hands to smooth the surface evenly. Chill in the fridge for at least 2 hours, or until firm.
- For a chocolate topping, melt 1/2 cup (90g) dark chocolate chips in a microwave-safe bowl in 30-second bursts, stirring each time until smooth. Spread the melted chocolate over the chilled base.
- Return the dish to the fridge for an additional 30 minutes to set the chocolate. The bars should be firm and shiny when ready.
- Lift the entire block out of the dish using the parchment overhang. Cut into squares with a sharp knife, wiping the blade between cuts for clean edges.
- Serve immediately or store in an airtight container in the fridge for up to a week. For longer storage, freeze for up to a month, thawing slightly before serving.
Chill the assembled bars until fully firm, about 2.5 hours total. Lift out using parchment, cut into squares, and serve directly. Store leftovers in an airtight container in the fridge or freezer.
How to Know It’s Done
- The mixture should be thick enough to hold its shape when pressed into the dish.
- The bars should be firm and no longer sticky after chilling.
- Chocolate topping should be glossy and set without tackiness.
No-Bake Peanut Butter Bars
Ingredients
Equipment
Method
- Line your baking dish with parchment paper, leaving some overhang for easy removal, and set aside.
- In a mixing bowl, combine the creamy peanut butter, honey, and melted butter. Stir with a spatula until the mixture is smooth, creamy, and slightly sticky, about 2 minutes.
- Crush the graham crackers into fine crumbs using a food processor or by placing them in a plastic bag and rolling over them with a rolling pin. Add the crumbs to the peanut butter mixture and stir until evenly coated and thick.
- Press the mixture firmly into the prepared baking dish using the back of a spatula or your hands, spreading it out into an even layer. Chill in the fridge for at least 2 hours until firm.
- While the base chills, melt the dark chocolate chips in a microwave-safe bowl in 30-second bursts, stirring between each until smooth and glossy.
- Remove the chilled base from the fridge and pour the melted chocolate over it, spreading evenly with a spatula to create a smooth, glossy top layer.
- Sprinkle a pinch of sea salt flakes over the chocolate for a touch of contrast and flavor.
- Refrigerate the bars for another 30 minutes until the chocolate is set and shiny. Once ready, lift the entire block out of the dish using the parchment overhang.
- Use a sharp knife to cut the chilled block into 12 even squares, wiping the blade clean between cuts for neat edges.
- Serve immediately or store in an airtight container in the fridge for up to a week. These bars are best enjoyed when slightly softened from refrigeration, revealing their sticky, crunchy layers.
Tips and tricks for perfect bars
- Chill thoroughly: Ensure the mixture is cold enough to set firmly, about 2 hours in the fridge, for clean cuts.
- Press firmly: Use the back of a spatula or your hands to press the mixture evenly into the pan, avoiding air pockets.
- Chocolate technique: Melt chocolate in short bursts and stir well; add a tiny pinch of oil if it seizes or thickens.
- Measure precisely: Use levelled scoops for ingredients to keep texture and balance just right.
- Avoid overmixing: Mix just until combined to maintain a tender, crumbly texture in the base.
- Use parchment: Line your dish with parchment paper for easy removal and clean edges when slicing.
- Adjust sweetness: Taste the mixture before setting; add a drizzle more honey if you prefer a sweeter bar.
Common mistakes and how to fix them
- FORGOT to measure ingredients precisely? Use levelled scoops for accuracy.
- DUMPED in too much salt? Rinse and start fresh with a measured pinch.
- OVER-TORCHED chocolate? Lower heat or add a spoonful of cream to loosen it.
- MISSED chilling time? Extend in fridge for a firmer, cleaner cut.
Quick fixes and pantry swaps
- If the mixture is too sticky, splash a little warm water and knead gently.
- When chocolate seizes, patch with a teaspoon of vegetable oil and stir until smooth.
- Splash some hot water on the knife for clean cuts through chilled bars.
- Dumped in too much salt? Rinse quickly and start over with a measured pinch.
- When bars crack or crumble, shield with a light mist of cooking spray and refrigerate briefly.
Prep, store, and reheat tips
- You can prepare the peanut butter mixture and press it into the pan a day ahead. Keep it covered in the fridge; the flavors will meld and the texture will firm up nicely.
- The bars store well in an airtight container in the fridge for up to a week, maintaining their chewy, sticky texture with a glossy chocolate top if added. They might lose some of their initial softness but stay delicious.
- For longer storage, freeze the bars (without chocolate topping or with it, if sealed well) for up to a month. Thaw in the fridge for a few hours before slicing to keep their shape.
- Reheat by letting chilled bars sit at room temperature for 10 minutes. The peanut butter will soften slightly, and the aroma of chocolate will become more inviting. Avoid microwaving, as it can make the bars too greasy or cause the chocolate to sweat.
Top questions about peanut butter bars
1. Can I use crunchy peanut butter?
Use natural, creamy peanut butter for the best ooze and flavor. Crunchy works too if you like texture.
2. Can I swap peanut butter for almond butter?
Yes, you can substitute almond or cashew butter, but expect a different nutty flavor and slightly different texture.
3. How long do I need to chill the bars?
Chill the mixture until firm, about 2 hours. The bars should be easy to cut and hold their shape.
4. What if my chocolate won’t melt smoothly?
If the chocolate melts or seizes, add a small spoon of coconut oil or cream to smooth it out.
5. How should I store leftover bars?
Store in an airtight container in the fridge for up to a week. Freeze for longer storage, up to a month.
6. Can I skip the chocolate topping?
Yes, you can omit the chocolate or replace it with a drizzle of caramel or a sprinkle of sea salt for variety.
7. How do I get clean cuts?
Use a sharp knife, wiping it between cuts, for clean, precise squares. Slightly warm the blade for easier slicing.
8. Can I make the bars more or less sweet?
Adjust the sweetness by adding a bit more honey or maple syrup before setting if you prefer it sweeter.
9. How can I add more texture?
For a crunchier base, add a handful of crushed pretzels or chopped nuts to the mixture.
10. Are these bars easy to customize?
Yes, these bars are very forgiving. Just keep the proportions in check and chill thoroughly for best results.
These bars are a lifeline on busy mornings or when late-night cravings hit hard. They’re a reminder that simple ingredients can come together to create something truly satisfying, no oven required.
Every bite carries a nostalgic note, a quick moment of comfort that’s easy to share or keep tucked away for when you need it most. No matter how hectic things get, they’re a little sweet pause in the chaos.
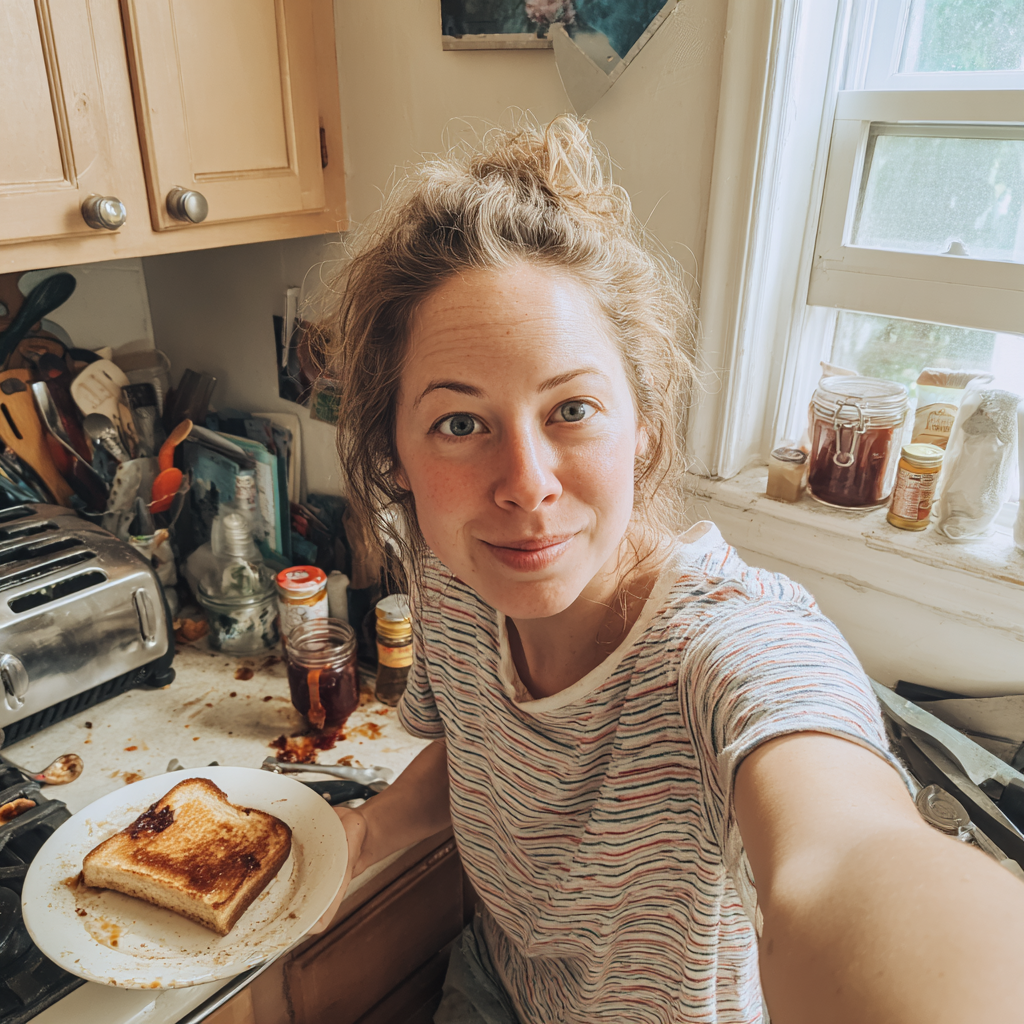
Hi, I’m Lily Ashworth – and if you’ve ever cried over a burnt grilled cheese or served cereal for dinner after a kitchen disaster, you’re in the right place. The phrase “say a little prayer for the burnt toast” became a family joke – something we’d mutter while scraping crumbs into the sink and laughing at yet another kitchen misadventure.