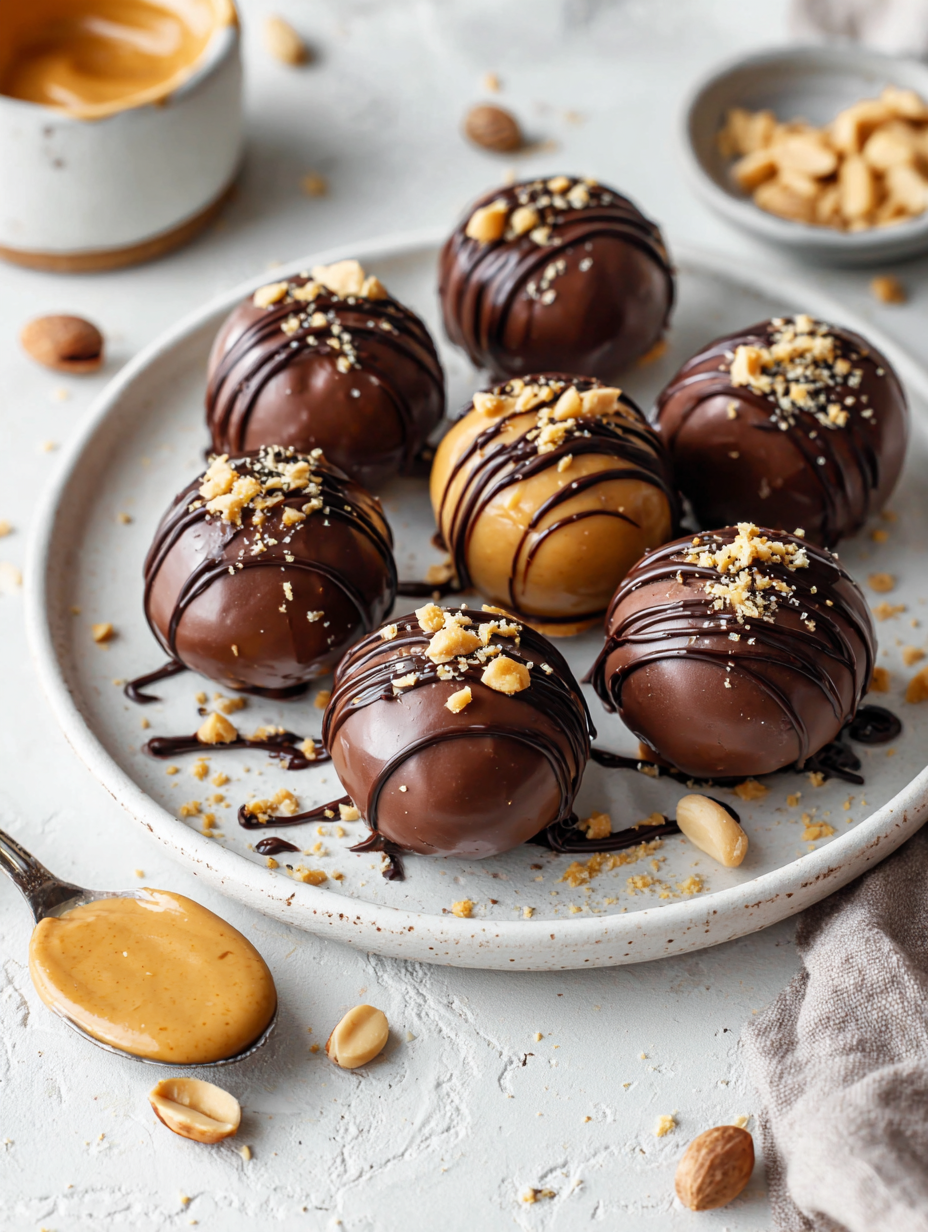
These chocolate peanut butter truffles are like a childhood snapshot wrapped in elegance. The salty punch of peanut butter paired with rich, bittersweet chocolate takes me back to lazy afternoons and messy kitchen counters, but with a grown-up twist that makes them perfect for parties or quiet evenings alone.
What I love about this recipe is how simple ingredients become something unexpectedly special. There’s a nostalgic joy in rolling out these little bites, feeling the firm texture of chilled dough give way to melt-in-your-mouth sweetness. They’re honest treats—messy, satisfying, and just a little bit indulgent.
Making these is a small act of comfort—no fancy equipment needed, just a bit of patience and a sweet tooth. They remind me that even in a busy world, a handful of good ingredients can turn into something memorable, bringing a smile just when you need it most.
Focusing on how the combination of salty peanut butter and sweet chocolate creates a nostalgic, almost childhood-like treat that balances sophistication with comfort, making these truffles perfect for both grown-up gatherings and family dessert tables.
Nostalgic Comfort in Tiny Bites
- These truffles remind me of lazy Sunday afternoons, where the smell of peanut butter and chocolate filled the air and made everything feel a little more special.
- I get a rush of pride every time I roll them out perfectly, knowing I’ve created something both nostalgic and elegant without much fuss.
- Biting into one of these is like a tiny, sweet rebellion—salty, creamy, and just a little messy in the best way.
- Making these with my kids turns into a chaotic, laughter-filled mess, but those moments are what I treasure most.
- The moment I melt the chocolate and see that glossy sheen appear, I know I’m in for a treat that’s richer than it looks.
The story behind this recipe
- This recipe started as a way to use up a jar of leftover peanut butter that was just sitting in my pantry, lonely and unloved. I wanted something that balanced that salty, creamy punch with the richness of chocolate, but in a way that felt a little more special than just spooning out peanut butter or melting chocolate. It’s funny how small ingredients can lead to a moment of real comfort, especially when shared with friends or family.
- One evening, I was experimenting with different ratios of peanut butter and chocolate, trying to get that perfect firm-yet-melt-in-your-mouth texture. When I finally got it right, I remembered how these little bites remind me of childhood afternoons—messy, sweet, and perfectly imperfect. They’re not fancy, but they carry a nostalgic punch that hits just right, especially after a long week.
- heading: ‘The story behind this recipe’
Chocolate Peanut Butter Truffles Trivia
- These truffles have roots in European confectionery traditions, where small, rich bites were crafted to showcase quality chocolate and nuts.
- Peanut butter’s introduction to American kitchens in the early 20th century revolutionized sweet treats, making salty-sweet combinations popular in desserts.
- The combination of chocolate and peanut butter became iconic in the 1960s, thanks to candy bars like Reese’s, which inspired countless homemade variations like this one.
- Historically, truffles were originally a French delicacy, but now the term broadly applies to any bite-sized, ganache-filled confections, including these peanut butter spins.
Ingredient breakdown
- Peanut Butter: I love using creamy, salt-roasted peanut butter; it gives a rich, velvety feel. Feel free to swap in almond butter for a nuttier twist, though it’ll lack that signature salty punch.
- Chocolate: I prefer bittersweet, high-quality chocolate, melting smoothly and shining glossy. You can try milk chocolate if you want sweeter, but it’ll soften the overall depth.
- Butter: I use unsalted butter for richness and control over salt. For a dairy-free version, coconut oil adds a subtle coconut aroma and keeps the texture firm but slightly different in mouthfeel.
- Powdered Sugar: I sift it well to avoid lumps, giving the truffles a smooth coating. Honey or maple syrup can work if you prefer a softer, chewier center, but it might affect the set.
- Vanilla Extract: I add just a splash for warmth and depth. Almond extract can be a good substitute for a more aromatic, slightly nutty note, but use sparingly to avoid overpowering.
- Salt: I sprinkle a pinch to enhance the peanut butter’s saltiness. Sea salt flakes make a nice crunchy contrast, but regular fine salt works just as well.
- Optional Coatings: I love rolling these in crushed pretzels or chopped nuts for texture. You can also dip them in more chocolate for a glossy, decadent finish—just work quickly before the coating sets.
Spotlight on key ingredients
Peanut Butter:
- I love using creamy, salt-roasted peanut butter; it gives a rich, velvety feel. Feel free to swap in almond butter for a nuttier twist, though it’ll lack that signature salty punch.
- Chocolate: I prefer bittersweet, high-quality chocolate, melting smoothly and shining glossy. You can try milk chocolate if you want sweeter, but it’ll soften the overall depth.
Chocolate:
- I prefer bittersweet, high-quality chocolate, melting smoothly and shining glossy. You can try milk chocolate if you want sweeter, but it’ll soften the overall depth.
- Butter: I use unsalted butter for richness and control over salt. For a dairy-free version, coconut oil adds a subtle coconut aroma and keeps the texture firm but slightly different in mouthfeel.
Notes for ingredient swaps
- Dairy-Free: Swap regular butter for coconut oil. It keeps the texture firm and adds a subtle coconut aroma, but might slightly alter the richness.
- Nut Butter: Almond or cashew butter can replace peanut butter for a milder, less salty flavor. Keep in mind, they may affect the overall saltiness and creaminess.
- Chocolate: Use milk chocolate instead of bittersweet for a sweeter, creamier coating. Dark chocolate gives a richer, more intense flavor.
- Powdered Sugar: Replace with honey or maple syrup for a softer, chewier center. Be aware, this may make the mixture softer and harder to handle straight from the fridge.
- Salt: Fine sea salt flakes add a crunchy contrast and enhance flavor. Regular fine salt works just as well if you prefer a less flaky texture.
- Optional Coatings: Try crushed pretzels, chopped nuts, or cocoa powder for different textures and flavors. Adjust depending on your preferred crunch or sweetness.
Equipment & Tools
- Microwave-safe bowl: Melts the chocolate evenly without burning.
- Small scoop or teaspoon: Portions out uniform-sized truffles.
- Baking sheet with parchment: Holds the truffles while chilling and setting.
- Fork or dipping tool: Helps dip and coat truffles smoothly.
Step-by-step guide to truffles
- Equipment & Tools: Gather a mixing bowl, spatula, baking sheet, parchment paper, microwave-safe bowl, and a small scoop or teaspoon for portioning.
- In a microwave-safe bowl, melt 200g (7 oz) of bittersweet chocolate in 30-second bursts, stirring after each, until smooth and glossy. Set aside to cool slightly.
- In another bowl, combine 1 cup creamy peanut butter, 2 tablespoons unsalted butter, and 1/4 cup powdered sugar. Mix until smooth and well incorporated.
- Add the melted chocolate to the peanut butter mixture. Stir thoroughly until fully blended. The mixture should be thick but still scoopable.
- Using a small scoop or teaspoon, portion out the mixture into 1-inch balls. Roll between your palms to smooth, then place on the prepared baking sheet lined with parchment.
- Chill the formed truffles in the fridge for at least 30 minutes, until firm and set. If you’re in a hurry, pop them in the freezer for about 15 minutes.
- While the truffles chill, melt an additional 100g (3.5 oz) of chocolate for coating, following the same microwave method. Let it cool slightly but remain fluid.
- Dip each chilled truffle into the melted chocolate, using a fork or dipping tool. Let excess chocolate drip off. Place back on the parchment-lined sheet.
- Optional: Roll the dipped truffles in crushed pretzels, chopped nuts, or cocoa powder for added texture and flavor.
- Rest the coated truffles at room temperature for 10 minutes to set the chocolate glaze. For a glossy finish, briefly refrigerate for 5-10 minutes.
- Finish by plating the truffles on a decorative tray or in paper cups. Serve at room temperature or slightly chilled for best texture and flavor.
Chill the coated truffles for at least 10 minutes to set the chocolate. Serve at room temperature for optimal texture and flavor. Store leftovers in an airtight container in the fridge for up to a week.
How to Know It’s Done
- Chocolate coating is glossy and firm to touch.
- Center feels firm but gives slightly when pressed.
- Truffles hold shape without cracking or melting at room temperature.
Chocolate Peanut Butter Truffles
Ingredients
Equipment
Method
- Place the chopped bittersweet chocolate in a microwave-safe bowl. Microwave in 30-second bursts, stirring after each, until the chocolate is smooth and glossy.
- In a separate bowl, mix the creamy peanut butter, softened butter, and sifted powdered sugar until smooth and well combined. The mixture should be thick but scoopable.
- Pour the melted chocolate into the peanut butter mixture and stir thoroughly until fully integrated, creating a thick, uniform dough.
- Using a small scoop or teaspoon, portion out the mixture and roll into 1-inch balls with your hands, placing each on a parchment-lined baking sheet. The mixture will be firm but pliable.
- Chill the shaped truffles in the refrigerator for at least 30 minutes until firm and set.
- Meanwhile, melt the additional chocolate in the microwave in short bursts, stirring until smooth and slightly cooled.
- Remove the chilled truffles from the fridge. Dip each into the melted chocolate using a fork or dipping tool, letting excess drip off before placing back on the parchment.
- Optional: Roll the coated truffles in crushed pretzels, chopped nuts, or dust with cocoa powder for extra flavor and texture.
- Let the coated truffles sit at room temperature for about 10 minutes to set the chocolate, or refrigerate for quicker results.
- Once the chocolate is firm and glossy, transfer the truffles to a serving dish or store in an airtight container in the fridge. Enjoy these rich, nostalgic bites!
Pro tips for perfect truffles
- Chop finely: Use a sharp knife to mince ingredients for a smoother, more uniform texture in ganache.
- Temperature matters: Melt chocolate slowly at 30°C (86°F) to prevent scorching and ensure glossy finish.
- Chill properly: Refrigerate the mixture until firm but not hard—about 30 minutes—to make rolling easier.
- Avoid overworking: Handle the truffle mixture gently to keep it soft enough to shape without cracking.
- Dip confidently: Use a fork to dip, then lift and tap gently to remove excess chocolate for a clean coat.
- Set in the fridge: Chill coated truffles for at least 10 minutes to firm up the chocolate and prevent melting.
- Work in small batches: Keep ingredients and coating warm enough to dip smoothly, but cool enough to set quickly.
Common mistakes and how to fix them
- FORGOT to temper chocolate → Use gentle heat to prevent blooming and ensure glossy finish.
- DUMPED in all ingredients at once → Mix gradually to avoid clumping and uneven texture.
- OVER-TORCHED chocolate → Remove from heat immediately; stir until smooth to prevent burning bitterness.
- MISSED chilling step → Chill thoroughly to firm up truffles before coating for clean, neat bites.
Quick Fixes for Truffle Troubles
- When chocolate seizes, splash in a teaspoon of vegetable oil for smoothness.
- If mixture is too sticky, chill for 10 minutes or add a touch more powdered sugar.
- Dumped in too much salt? Rinse and start again with fresh ingredients, or mask with cocoa.
- Over-torched chocolate? Patch with a small amount of fresh melted chocolate and stir well.
- When coating looks streaky, gently warm the chocolate again and stir to restore gloss.
Prep, store, and reheat tips
- You can prepare the truffle mixture and shape the balls up to 2 days in advance; keep them covered in the fridge, where they develop a richer peanut butter flavor.
- Store finished, coated truffles in an airtight container in the fridge for up to a week. The chocolate coating stays shiny and firm, but let them sit at room temperature for a few minutes before serving to soften slightly.
- For longer storage, freeze the uncoated truffles for up to 3 months. Wrap them tightly in plastic wrap and then foil. Thaw in the fridge overnight before coating and serving.
- Reheat coated truffles briefly at room temperature if they feel too firm—just 5 minutes out of the fridge. Avoid microwaving, which can melt the chocolate unevenly and dull the shine.
- The flavors deepen after a day or two—the saltiness and richness meld together, making them even more addictive. Just ensure they’re kept in a cool, dry place or refrigerated.
FAQs about Chocolate Peanut Butter Truffles
1. What kind of peanut butter works best?
A creamy, salty peanut butter that melts smoothly and balances the sweetness of chocolate. Look for natural or roasted varieties for best flavor.
2. Can I use milk chocolate instead?
Bittersweet or dark chocolate with at least 70% cacao gives a rich, smooth coating that doesn’t overpower the peanut flavor.
3. How do I know if the mixture is ready to shape?
Chill the truffle mixture until firm but not rock-hard—about 30 minutes in the fridge. If too soft, they’ll be hard to roll.
4. Does the quality of chocolate matter?
Use high-quality chocolate for a shiny, crisp coating. Low-quality chocolate can seize or become dull when melted.
5. How long do these keep?
Store leftovers in an airtight container in the fridge for up to a week. Bring to room temperature before serving for best texture.
6. Can I freeze these?
Yes, you can freeze uncoated truffles up to 3 months. Wrap tightly and thaw overnight in the fridge before coating.
7. How should I prepare the chocolate for melting?
Chop finely to ensure smooth melting and even coating. Use a sharp knife and a steady hand for best results.
8. How do I dip the truffles smoothly?
Dip with a fork, then tap gently to remove excess. Work quickly before the chocolate starts to set or crack.
9. What if my chocolate doesn’t coat smoothly?
If the chocolate seizes or becomes streaky, add a tiny splash of vegetable oil and stir until glossy again.
10. How do I melt chocolate properly?
Use a gentle, slow melt in short bursts at about 30°C (86°F). Stir often to prevent burning and ensure gloss.
These little bites are more than just a sweet treat; they’re a nostalgic reminder of simpler times, packed into a tiny, satisfying package. When you bite into one, you get that perfect balance of salty peanut butter and glossy, bittersweet chocolate—just the right amount of richness and crunch.
They’re easy to whip up for impromptu gatherings or an after-dinner indulgence, and they keep well in the fridge, waiting patiently for their next moment in the spotlight. Sometimes, the simplest ingredients create the most memorable bites, especially when shared with someone who appreciates a little homemade sweetness.
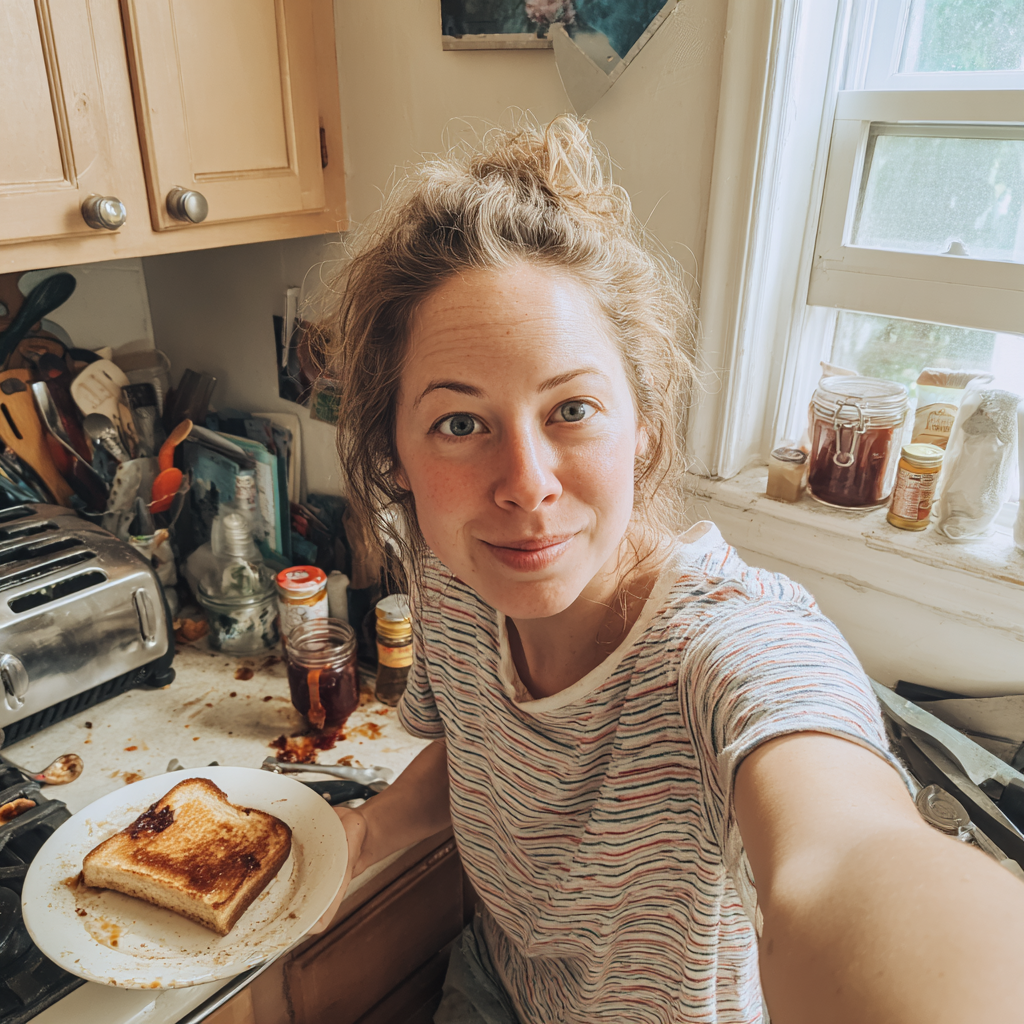
Hi, I’m Lily Ashworth – and if you’ve ever cried over a burnt grilled cheese or served cereal for dinner after a kitchen disaster, you’re in the right place. The phrase “say a little prayer for the burnt toast” became a family joke – something we’d mutter while scraping crumbs into the sink and laughing at yet another kitchen misadventure.