Air frying chicken breasts is my go-to when I’m short on time but craving something nourishing. It’s a method that keeps the meat tender, with a crispy edge that’s surprisingly satisfying. The best part? No oil splatters and a simple clean-up afterward.
Why I Keep Coming Back to This Chicken
It’s just so reliable. Juicy, tender, with a crispy edge—no fuss, no mess. Plus, it’s endlessly adaptable, perfect for salads, wraps, or just a quick snack. The air fryer keeps it simple, and I know it’ll turn out every time.
Breaking Down the Chicken & Spice Mix
- Chicken breast: Lean, tender, and quick-cooking. Look for uniform thickness for even cooking.
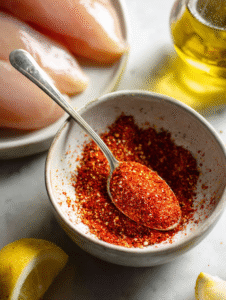
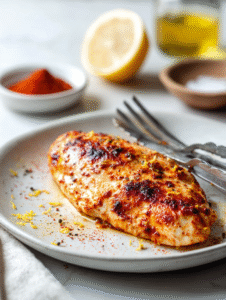
- Paprika: Adds smoky sweetness and a beautiful color. Swap with smoked paprika for deeper flavor.
- Garlic powder: Gives a warm, savory punch. Fresh garlic can be used but needs more prep.
- Cayenne pepper: A splash for heat, brightens the spice blend. Adjust to your heat tolerance.
- Salt & pepper: Fundamental to seasoning, enhances overall flavor.
- Olive oil: Helps spices stick and promotes crispiness. Use avocado oil as a neutral alternative.
- Lemon zest: Lifts the flavors with zing. Lemon juice can be added post-cook for brightness.
Tools of the Trade for Perfect Air Fryer Chicken
- Air fryer: Cooks the chicken evenly with minimal fuss.
- Meat thermometer: Ensures the chicken reaches safe, juicy temperature.
- Tongs: Helps flip and handle hot chicken safely.
- Paper towels: Drying the chicken for better spice adhesion.
Simple Steps for Consistently Juicy Air Fried Chicken
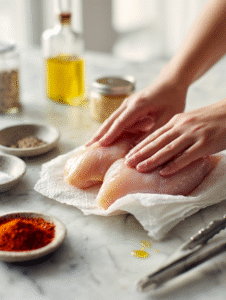
Step 1: Start with a fresh, skinless chicken breast. Pat dry with paper towels to remove excess moisture.
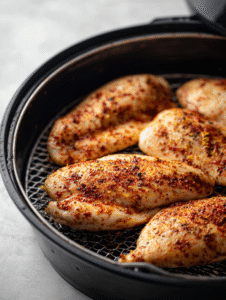
Step 2: Mix your favorite spices—paprika, garlic powder, and a pinch of cayenne. Rub generously over both sides of the chicken.
Step 3: Preheat your air fryer to 200°C (390°F) for about 3 minutes. This helps get a crispy exterior.
Step 4: Place the chicken in the air fryer basket, making sure not to overcrowd. Cook for 10-12 minutes.
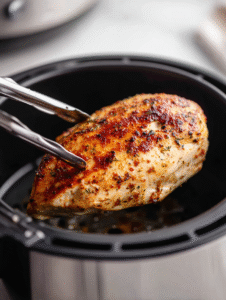
Step 5: Flip halfway through, and check for a nice golden color. The chicken should be firm but not rubbery.
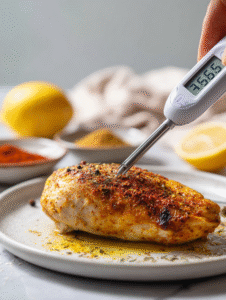
Step 6: Use a meat thermometer—internal temp should reach 75°C (165°F).
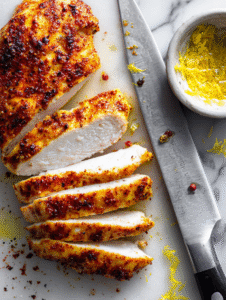
Step 7: Let rest for 5 minutes before slicing to keep juices in. Serve with your favorite sides.
Cooking Checkpoints to Nail Juicy Chicken
- Color: Should be golden and slightly crisp, not burnt.
- Texture: Firm but not tough—press lightly to test firmness.
- Temperature: Internal temp must hit 75°C (165°F) for safety and juiciness.
Common Mistakes and How to Fix Them
- Overcooking or cooking at too high a temp.? If chicken turns out rubbery, lower cooking time and check temperature earlier.
- Overcooking or not resting enough.? If chicken is dry, reduce cooking time or let rest longer.
- Spices burning in the hot air.? If spices burn, reduce heat slightly or add spices after initial cook.
- Not prepping the basket properly.? If chicken sticks, lightly oil the basket or use parchment paper.
Air Fryer Spiced Chicken Breast
Ingredients
Equipment
Method
- Pat the chicken breasts dry with paper towels to remove excess moisture, which helps the spices adhere better and promotes crispiness.
- In a small bowl, mix paprika, garlic powder, cayenne pepper, lemon zest, salt, and pepper to create a flavorful spice rub.
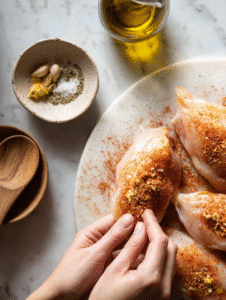
- Rub the spice mixture generously over both sides of each chicken breast, pressing gently to ensure even coating.
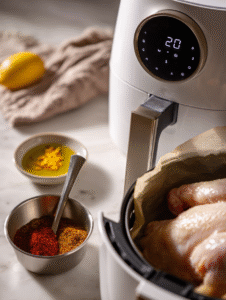
- Preheat your air fryer to 200°C (390°F) for about 3 minutes, allowing it to reach the ideal temperature for crispy, tender chicken.

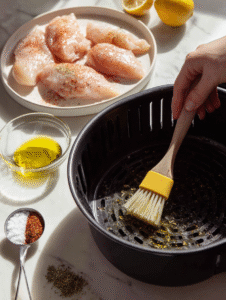
- Lightly brush the air fryer basket with olive oil or line it with parchment paper to prevent sticking and promote crispness.
- Place the chicken breasts in the air fryer basket in a single layer, making sure they aren’t touching for even air circulation.
- Cook the chicken for 10-12 minutes, flipping halfway through with tongs, until the exterior is golden brown and crispy.
- Use a meat thermometer to check that the internal temperature has reached 75°C (165°F) for safe and juicy chicken.
- Remove the chicken from the air fryer and let it rest for 5 minutes, allowing the juices to redistribute for maximum tenderness.
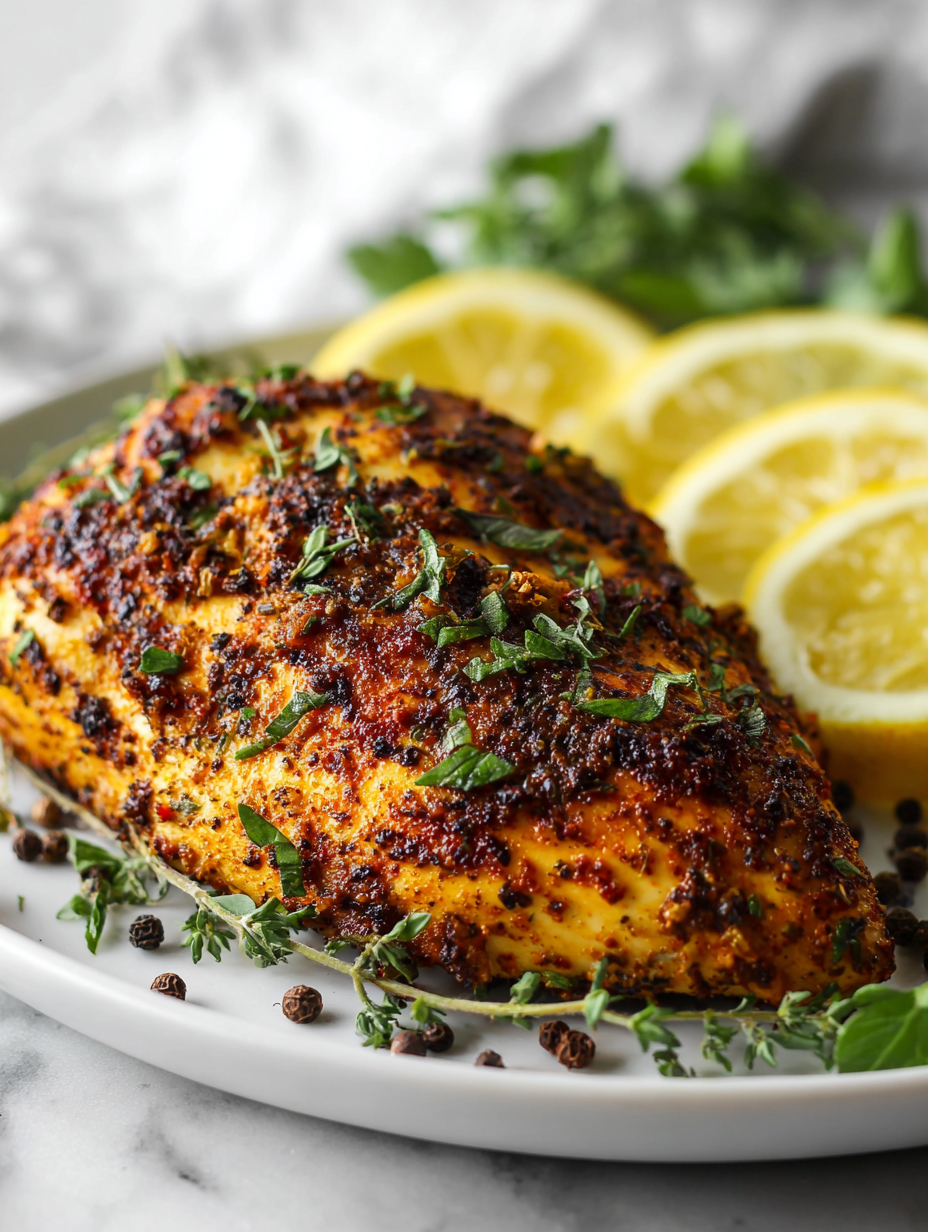
- Slice the chicken against the grain, revealing a juicy interior with a crispy, flavorful crust.
- Serve immediately with your favorite sides, enjoying the tender, crispy texture and zesty flavor.

Hi, I’m Lily Ashworth – and if you’ve ever cried over a burnt grilled cheese or served cereal for dinner after a kitchen disaster, you’re in the right place. The phrase “say a little prayer for the burnt toast” became a family joke – something we’d mutter while scraping crumbs into the sink and laughing at yet another kitchen misadventure.